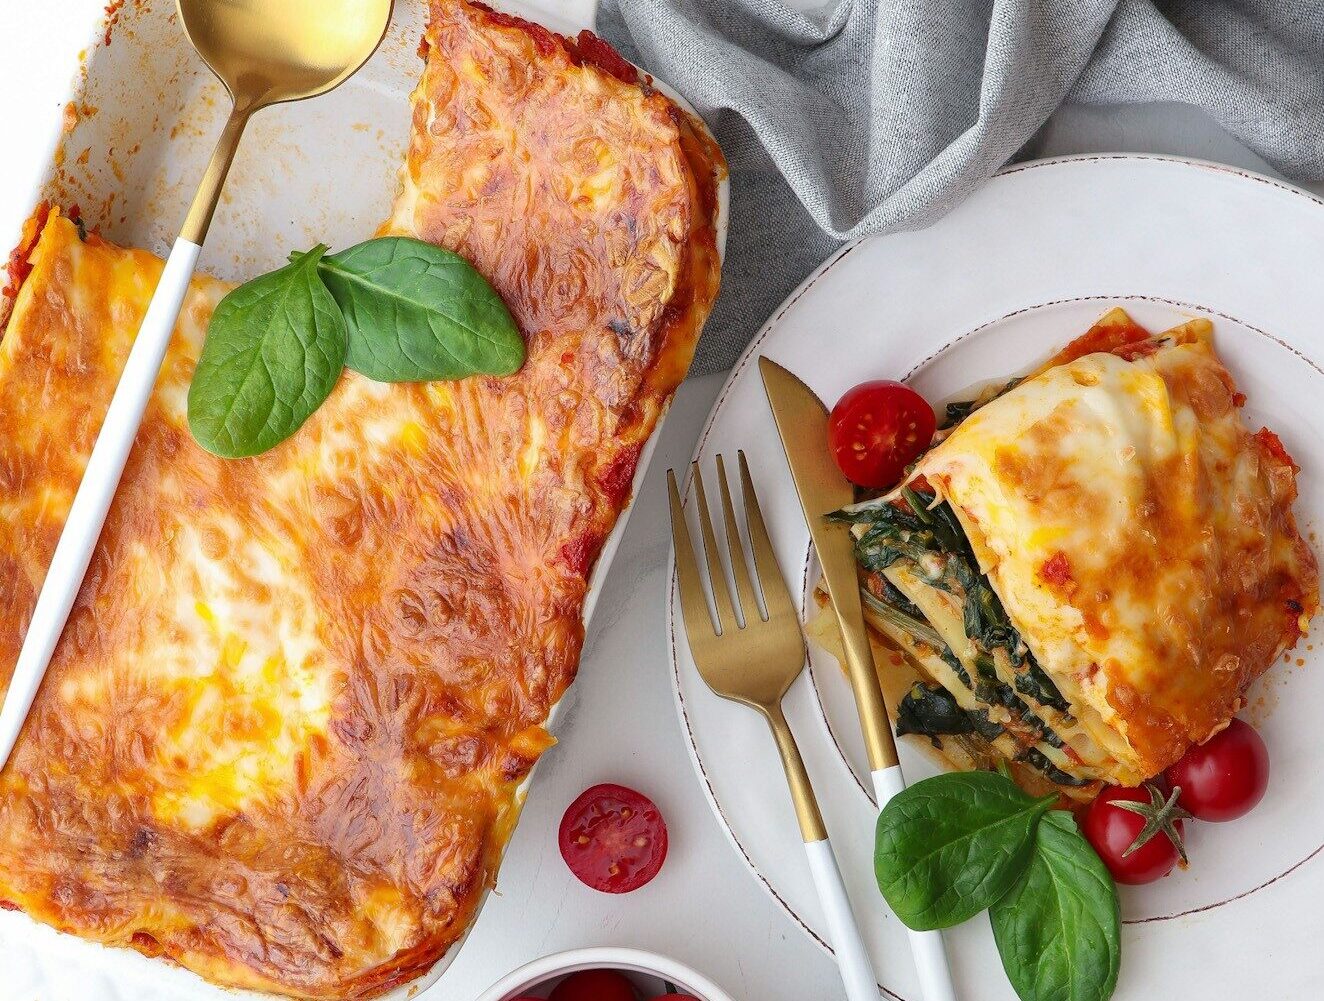
This is our new fave pizza! It checks all the boxes for healthy, delicious and easy! Look no further, make this for dinner tonight.


This is our new fave pizza! It checks all the boxes for healthy, delicious and easy! Look no further, make this for dinner tonight.
Making homemade gifts for the holidays is a heartwarming and inexpensive way to show others we care. I like to make Chocolate covered strawberries, chocolate covered apples with crushed candy canes, and even homemade chocolates wrapped in food safe bags with big bows. The apples and strawberries must go in the refrigerator, and the chocolate may also be kept in the frig until you are ready to wrap it for a gift. Just let it come to room temp, then wrap.
Here are the basic ingredients you’ll need to make Chocolate Covered Apples:
Large Roma Apples, take off stem
Sticks for the apples, I have used wooden chop sticks
Candy canes for crushing
good quality Dark chocolate chips for melting
Food safe bags
Bows or bakery string for tying
Directions for Chocolate Covered Apples with Crushed Peppermint: (a step-by-step video is on my Instagram @marioochcooks)
Start with one large fresh Apple. Wash and dry it completely. Insert the stick into the core.
Next, Melt enough chocolate to completely cover the apples including where the stem was intact. I do about three large handfuls of chocolate chips for two apples. I work things in small batches, so it’s easier to use the microwave, but be watchful so that the chocolate doesn’t burn. Do it in 20 second increments and stir in between. I use paper bowls to make clean up easy!
Alternatively, you may also place a metal bowl, filled with the chocolate chips, over a pot filled with hot water, with heat on low. This will properly temper the chocolate. You can melt chocolate in larger batches this way. Either way you choose, be sure to keep stirring the chocolate to keep it smooth, and lump free.
Note: I find dark chocolate great to work great for these types of gifts. I haven’t had as much success with milk chocolate, it’s very thick and doesn’t glisten like the milk chocolate. But feel free to experiment. I do like the white chocolate as an added garnish to dark chocolate covered strawberries or even dark chocolate covered apples in lieu of the candy canes.
Once chocolate has cooled just a bit, Take the apple and twirl in the bowl of melted chocolate. Using a spoon drip the chocolate at the top of the apple and let it run down the sides. Once the apple is evenly coated with the chocolate, place it on a small baking sheet that will fit inside the frig. Be sure to line with parchment paper.
Then crush your candy canes and place a few small handfuls on the top of the apple. (or you may drizzle the white chocolate on the apple instead).
Once the apple sets in the refrigerator for 30 minutes, wrap each apple in food safe bags, and secure with a twisty. Be sure NO air gets in the apple to ensure maximum freshness. Place in the refrigerator for up to one week. Don’t forget to add decorative ribbon when you present the gift!
Here are the basic ingredients you’ll need to make chocolate candy with crushed peppermint also known as chocolate bark for the holidays: (a step-by-step video is on my instagram @marioochcooks)
Candy canes (or nuts, cranraisins etc.)
good quality dark chocolate chips
food safe bags and bakery string
parchment paper for cooling and setting
Directions for Assembling chocolate candy:
Start by melting the chocolate as you read above. Next, smear the chocolate onto a baking sheet lined with parchment paper. Add the crushed candy canes. Place in the freezer to set the chocolate. It should set in 30 minutes. Break into pieces. Place in an air tight container or zip lock bag and store in refrigerator for maximum freshness. Any air or moisture will make the chocolate have white spots.
When you are ready to gift the chocolates, take it out of the refrigerator and let it come to room temp. Then place it in a food safe bag and add a decorative ribbon!
Note: you may dip strawberries into the dark chocolate in lieu of apples, set these onto a baking sheet lined with parchment paper, and place in the refrigerator. You can take them out and assemble them and cover. They are good up to two days but for maximum quality it’s best to make these fresh! I like to drizzle the white chocolate on these. You can pipe the chocolate using a piping bag that makes the lines very uniform and it gives it a more professional appearance.
Most of all folks, have fun with the process of creating homemade goodies for the holidays!!!!
Happy Holidays!

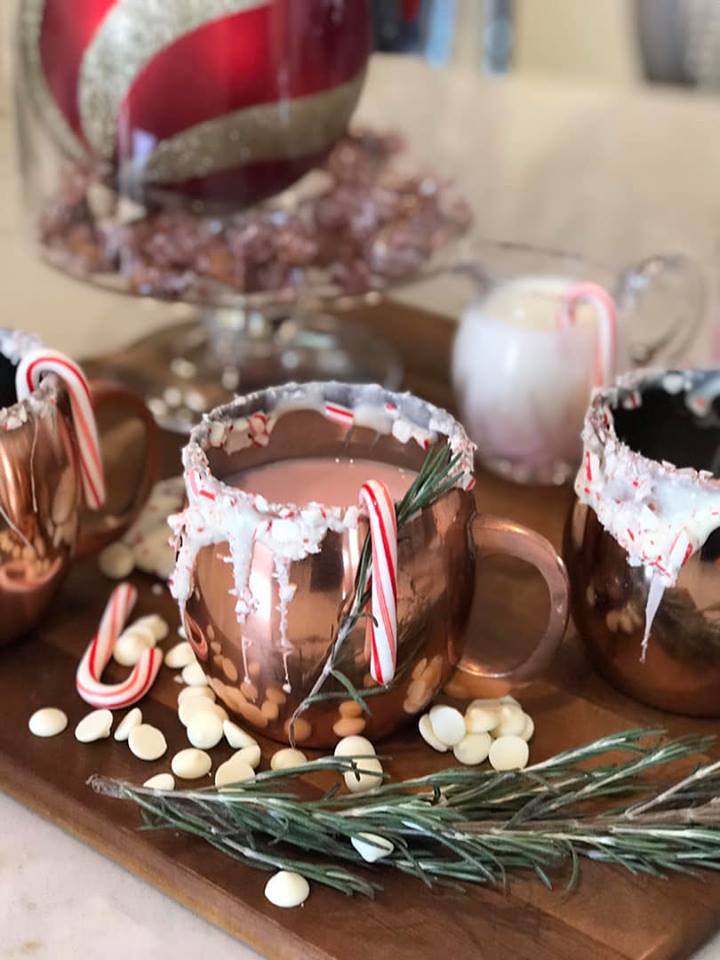
Santa Claus is coming to town….Impress Santa (and your guests) with this “Peppermint Milk” drink combo paired with white chocolate peppermint cookies. This delicious minty drink is for the adults in the crowd, however, this drink can be made easily by omitting the alcohol. In lieu of alcohol, you can experiment with clear vanilla extract to give the drink an added depth of flavor, and add a candy cane colored straw for sipping for a festive vibe the kids will love!
Here is what you’ll need:
Mint infused Simple Syrup Ingredients:
1 cup water
1 cup granulated sugar
A few mint leaves
Stir together equal parts water and sugar. Bring to a boil, stir and let sugar dissolve. Stir until liquid is translucent. This creates a simple syrup, then you can infuse flavor. Take it off the burner, add in the Mint leaves and give it a quick stir, and cover. Let steep until it’s cool, strain, discard Mint leaves and then refrigerate. Use the Mint infused simple syrup for cocktails, cakes, cookies. Store in an air-tight container. Will last 1-2 weeks
Here are the directions for assembling this festive and delicious drink:
Start by melting a few handfuls of white chocolate chips in the microwave. Once melted, stir until all the lumps are gone. Then dip the glasses into the chocolate. Have the crushed candy canes spread out onto a plate for dipping. Let this sit and harden. I think it looks best when the chocolate is dripping down the glass to create a snow effect. These you can keep in the refrigerator to keep cold.
Next, using a mason jar, pour 8 ounces of milk add in 3-4 mini candy canes, 1/2 of a shot glass (about 1 ounce) of Kahlua (or clear vanilla extract you may experiment with or omit it altogether), 2 tablespoons of cold mint infused simple syrup, and a TINY drop red food coloring. You want the drink to be a light pink, to have that milk vibe. Last add in a few shakes of Corriander. Put the lid on tightly and shake well!!! Store a few of these in batches in the refrigerator.
If you use the mini candy canes, they will likely dissolve in a 2 hours, otherwise strain the drink into the moscow mules. Add a candy cane to side of each glass/mug and a Rosemary Sprig as seem in this photo or a candy cane colored straw for sipping.
I prepare these in small batches in 8 ounce mason jars to maintain the quality of the drink, but you may prepare this in one large mason jar, just adjust your ingredients accordingly.
Serve with white chocolate peppermint cookies, and serve this drink cold, no ice necessary. The moscow mule mugs will keep the milk cold, just be sure you refrigerate them before you serve!
Assemble everything with some white chocolate chips, candy canes, and Rosemary sprigs to create a festive look. We eat and drink with our eyes too. This drink will give your next holiday party that fun, festive vibe that will keep everyone happy, especially Santa!
*Boxen is a little Brian Reagan comedy!

Planning a holiday party? Here are a few pointers for a successful and tasty party!