Ricotta Cheese Ravioli

ravioli on boardOnce you learn how to make pasta dough by hand, making ravioli or even tortellini is super easy. I hope you read through my post on Pasta Making 101, because it will teach you how to make the dough.  My dough is made without egg, and it holds together perfectly. Practice makes perfect. My son who is 10 has become a pro, but it took a few tries.

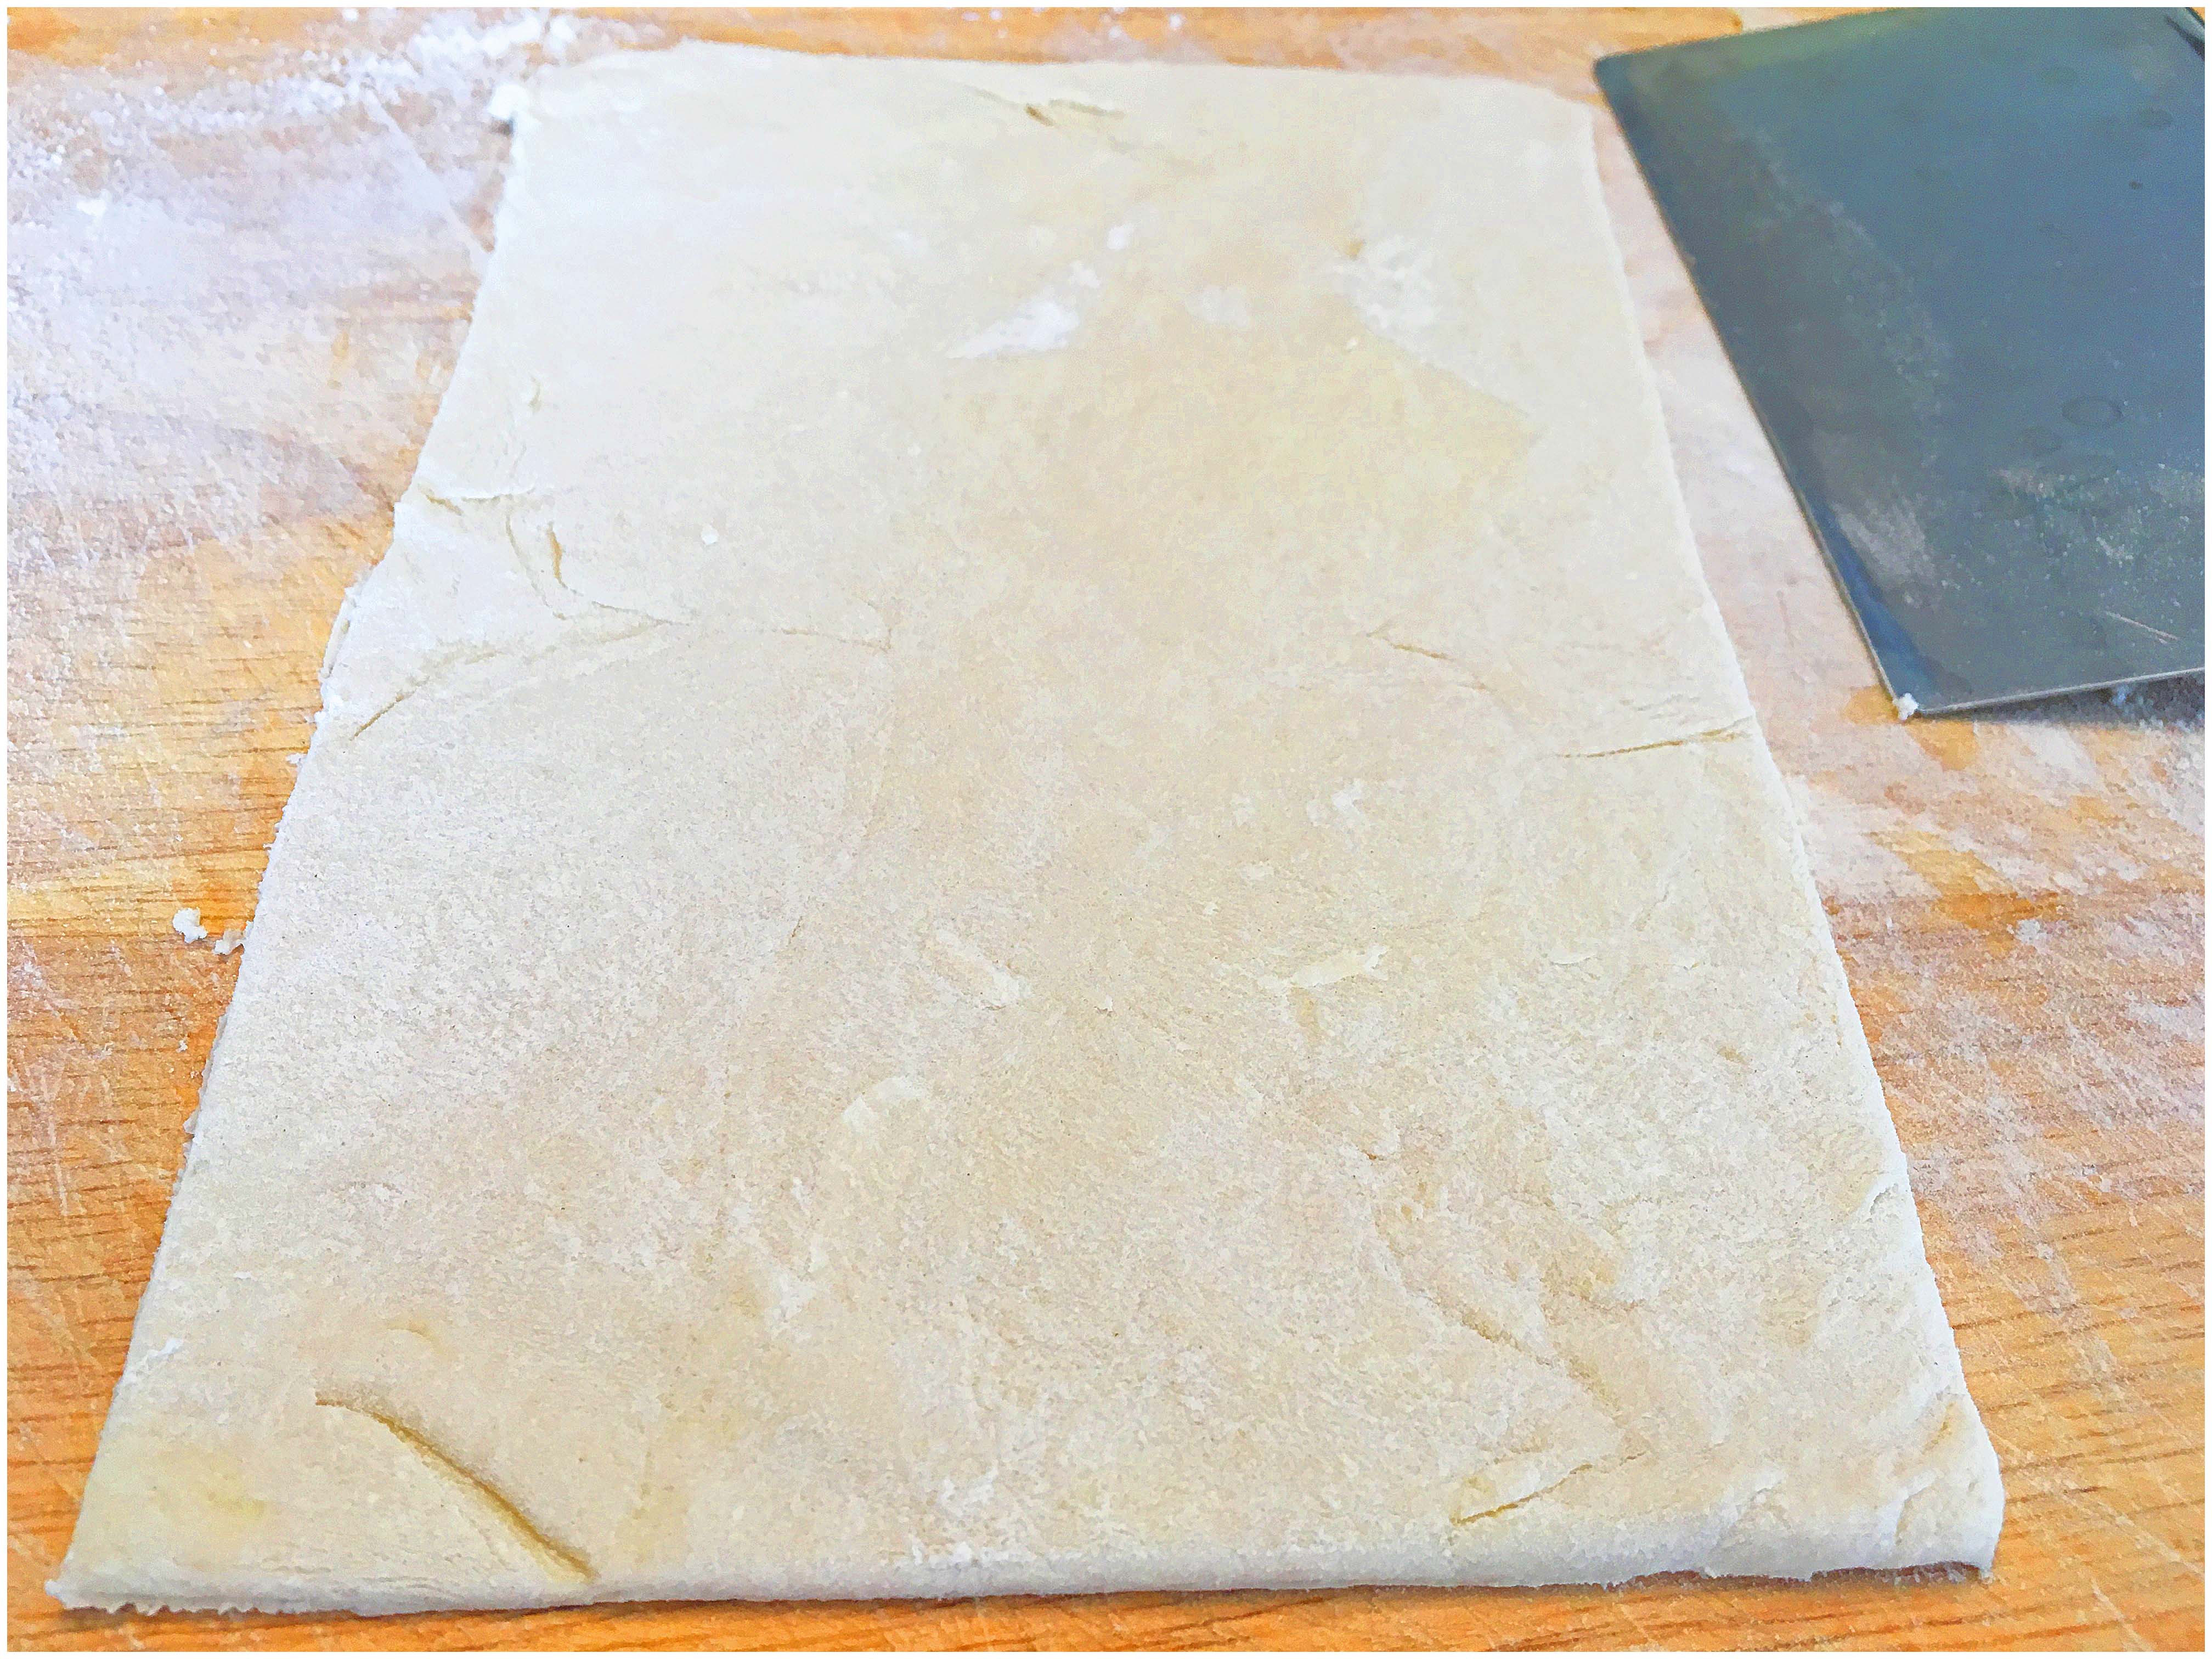
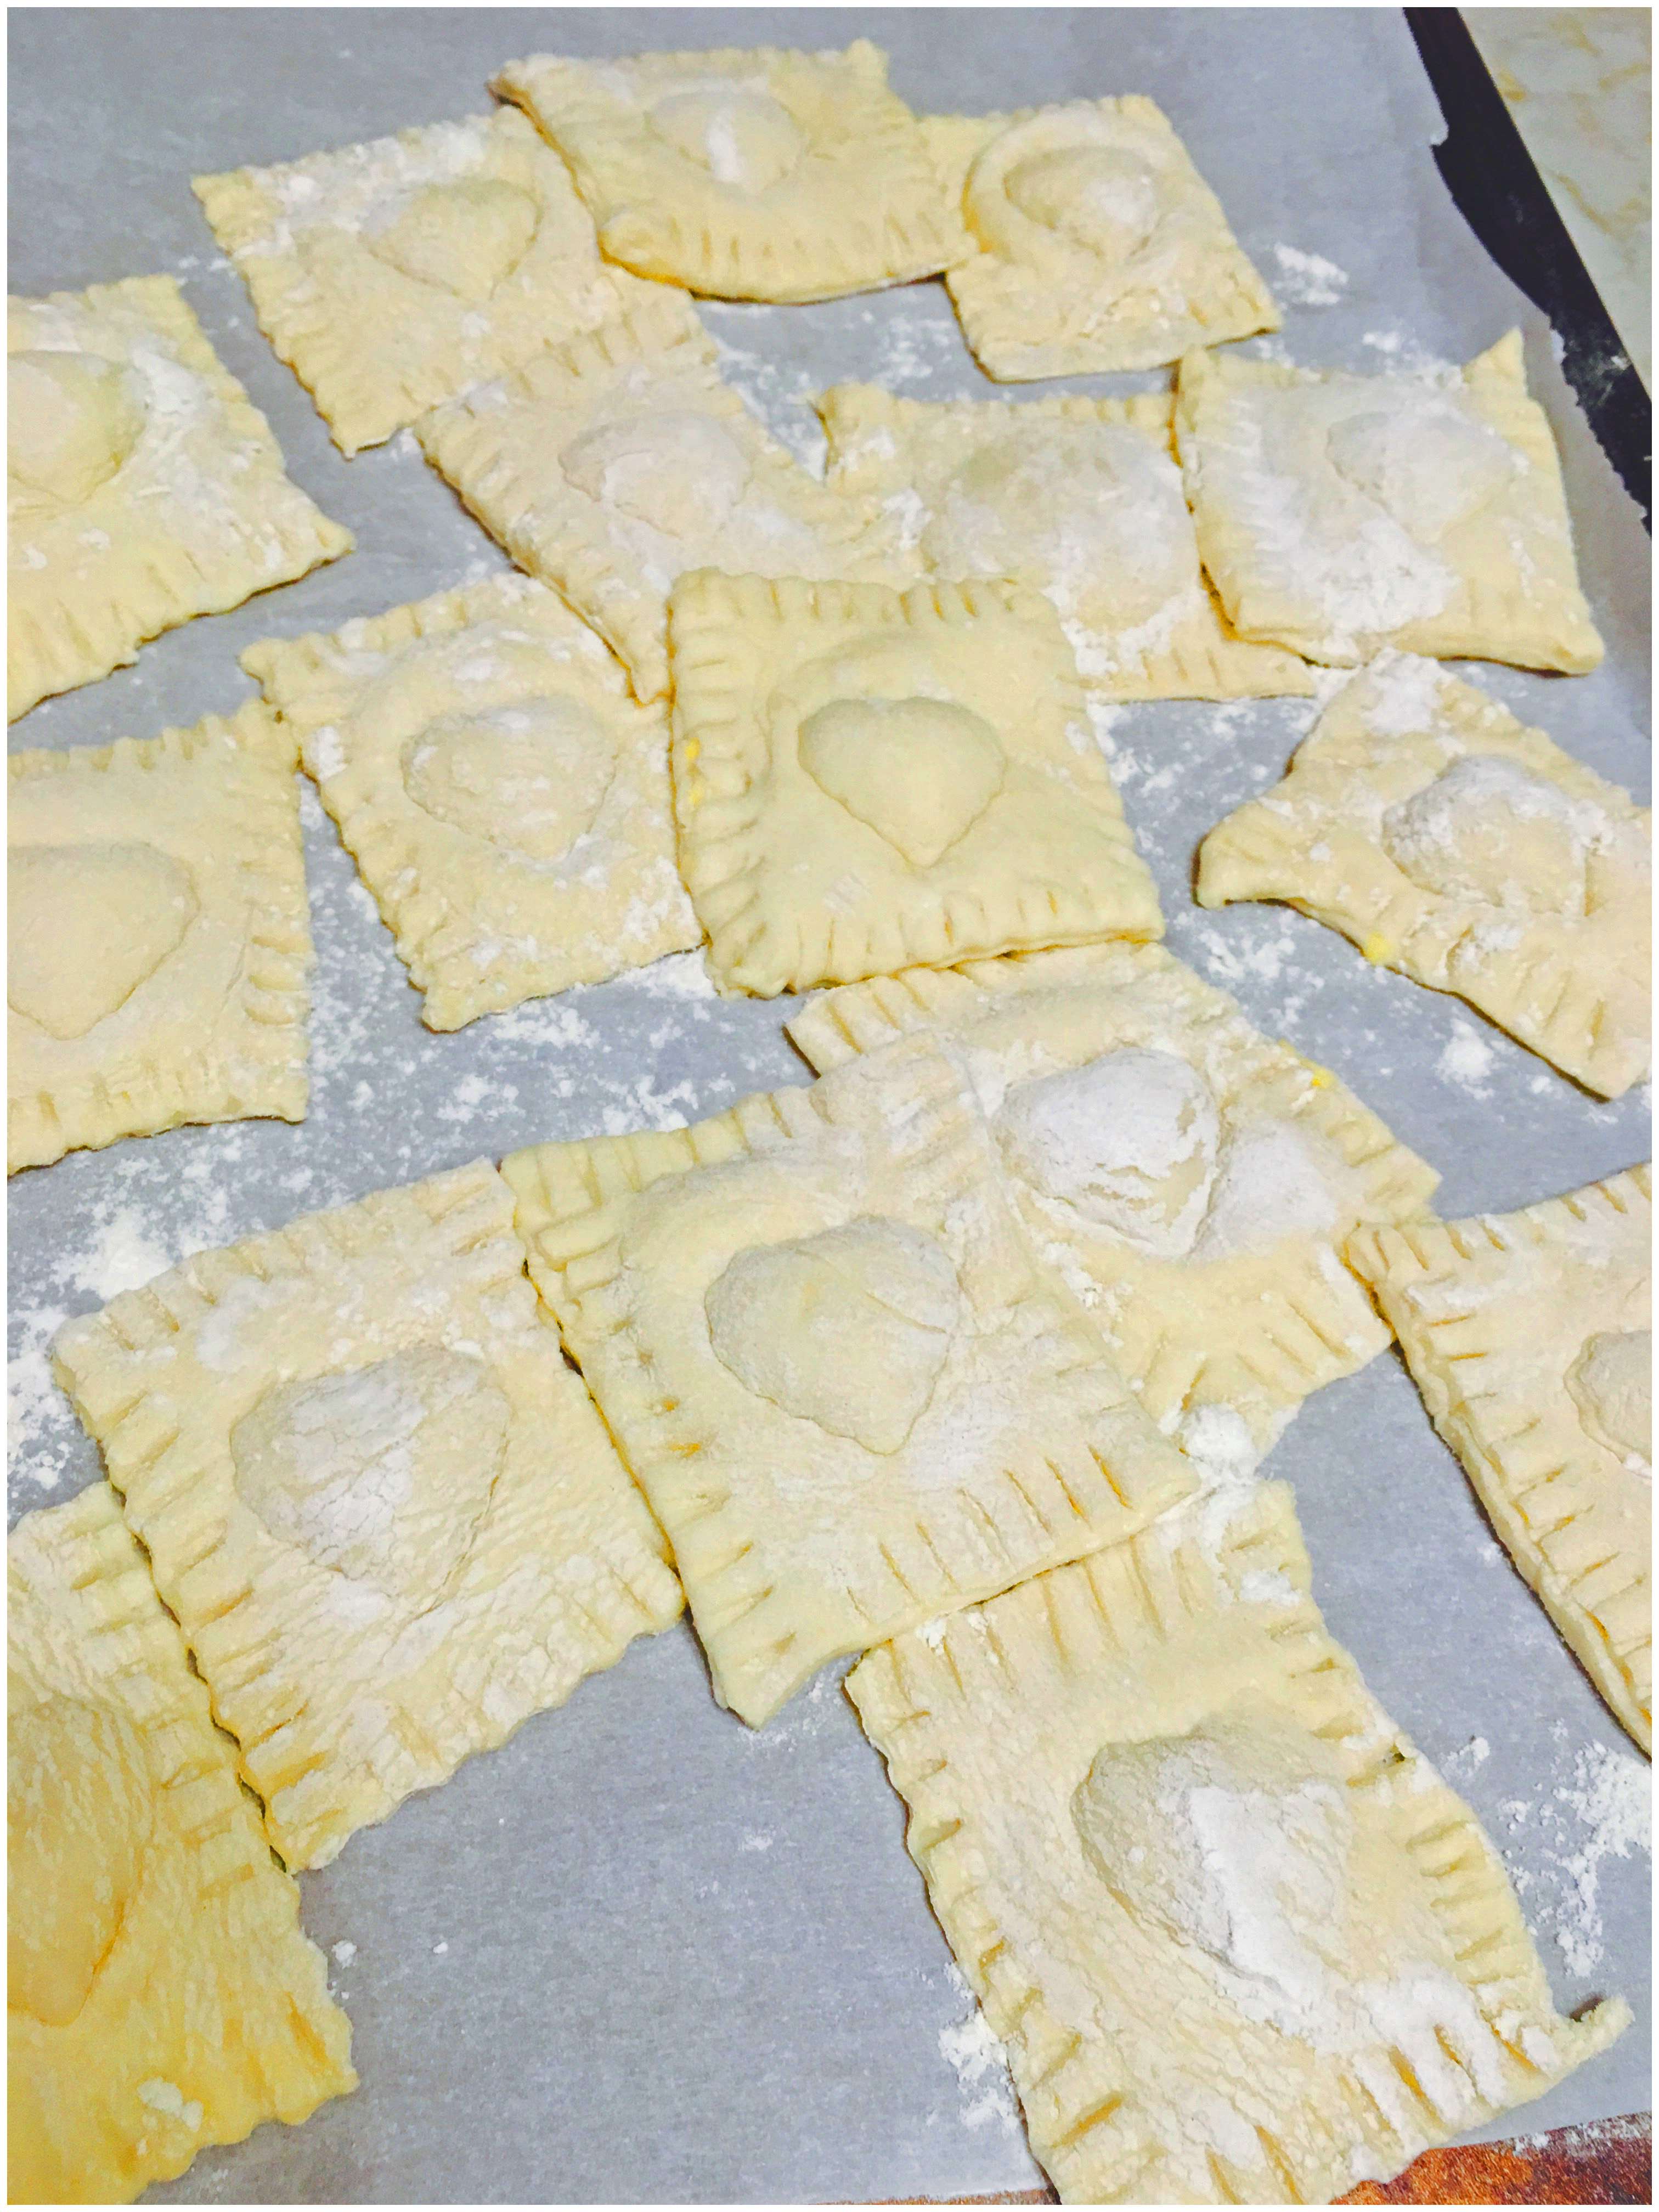
Step One: Follow my dough recipe, then instead of making the pasta and cutting the sheets into long fettucini or linguini-like strands, cut the sheets into thick long stripes, and then into squares. It’s best to use a pastry cutter to get precise cuts, but the squares do not have to all be the same size. You may use a ravioli stamp as well, which creates more filling and less of a rim.

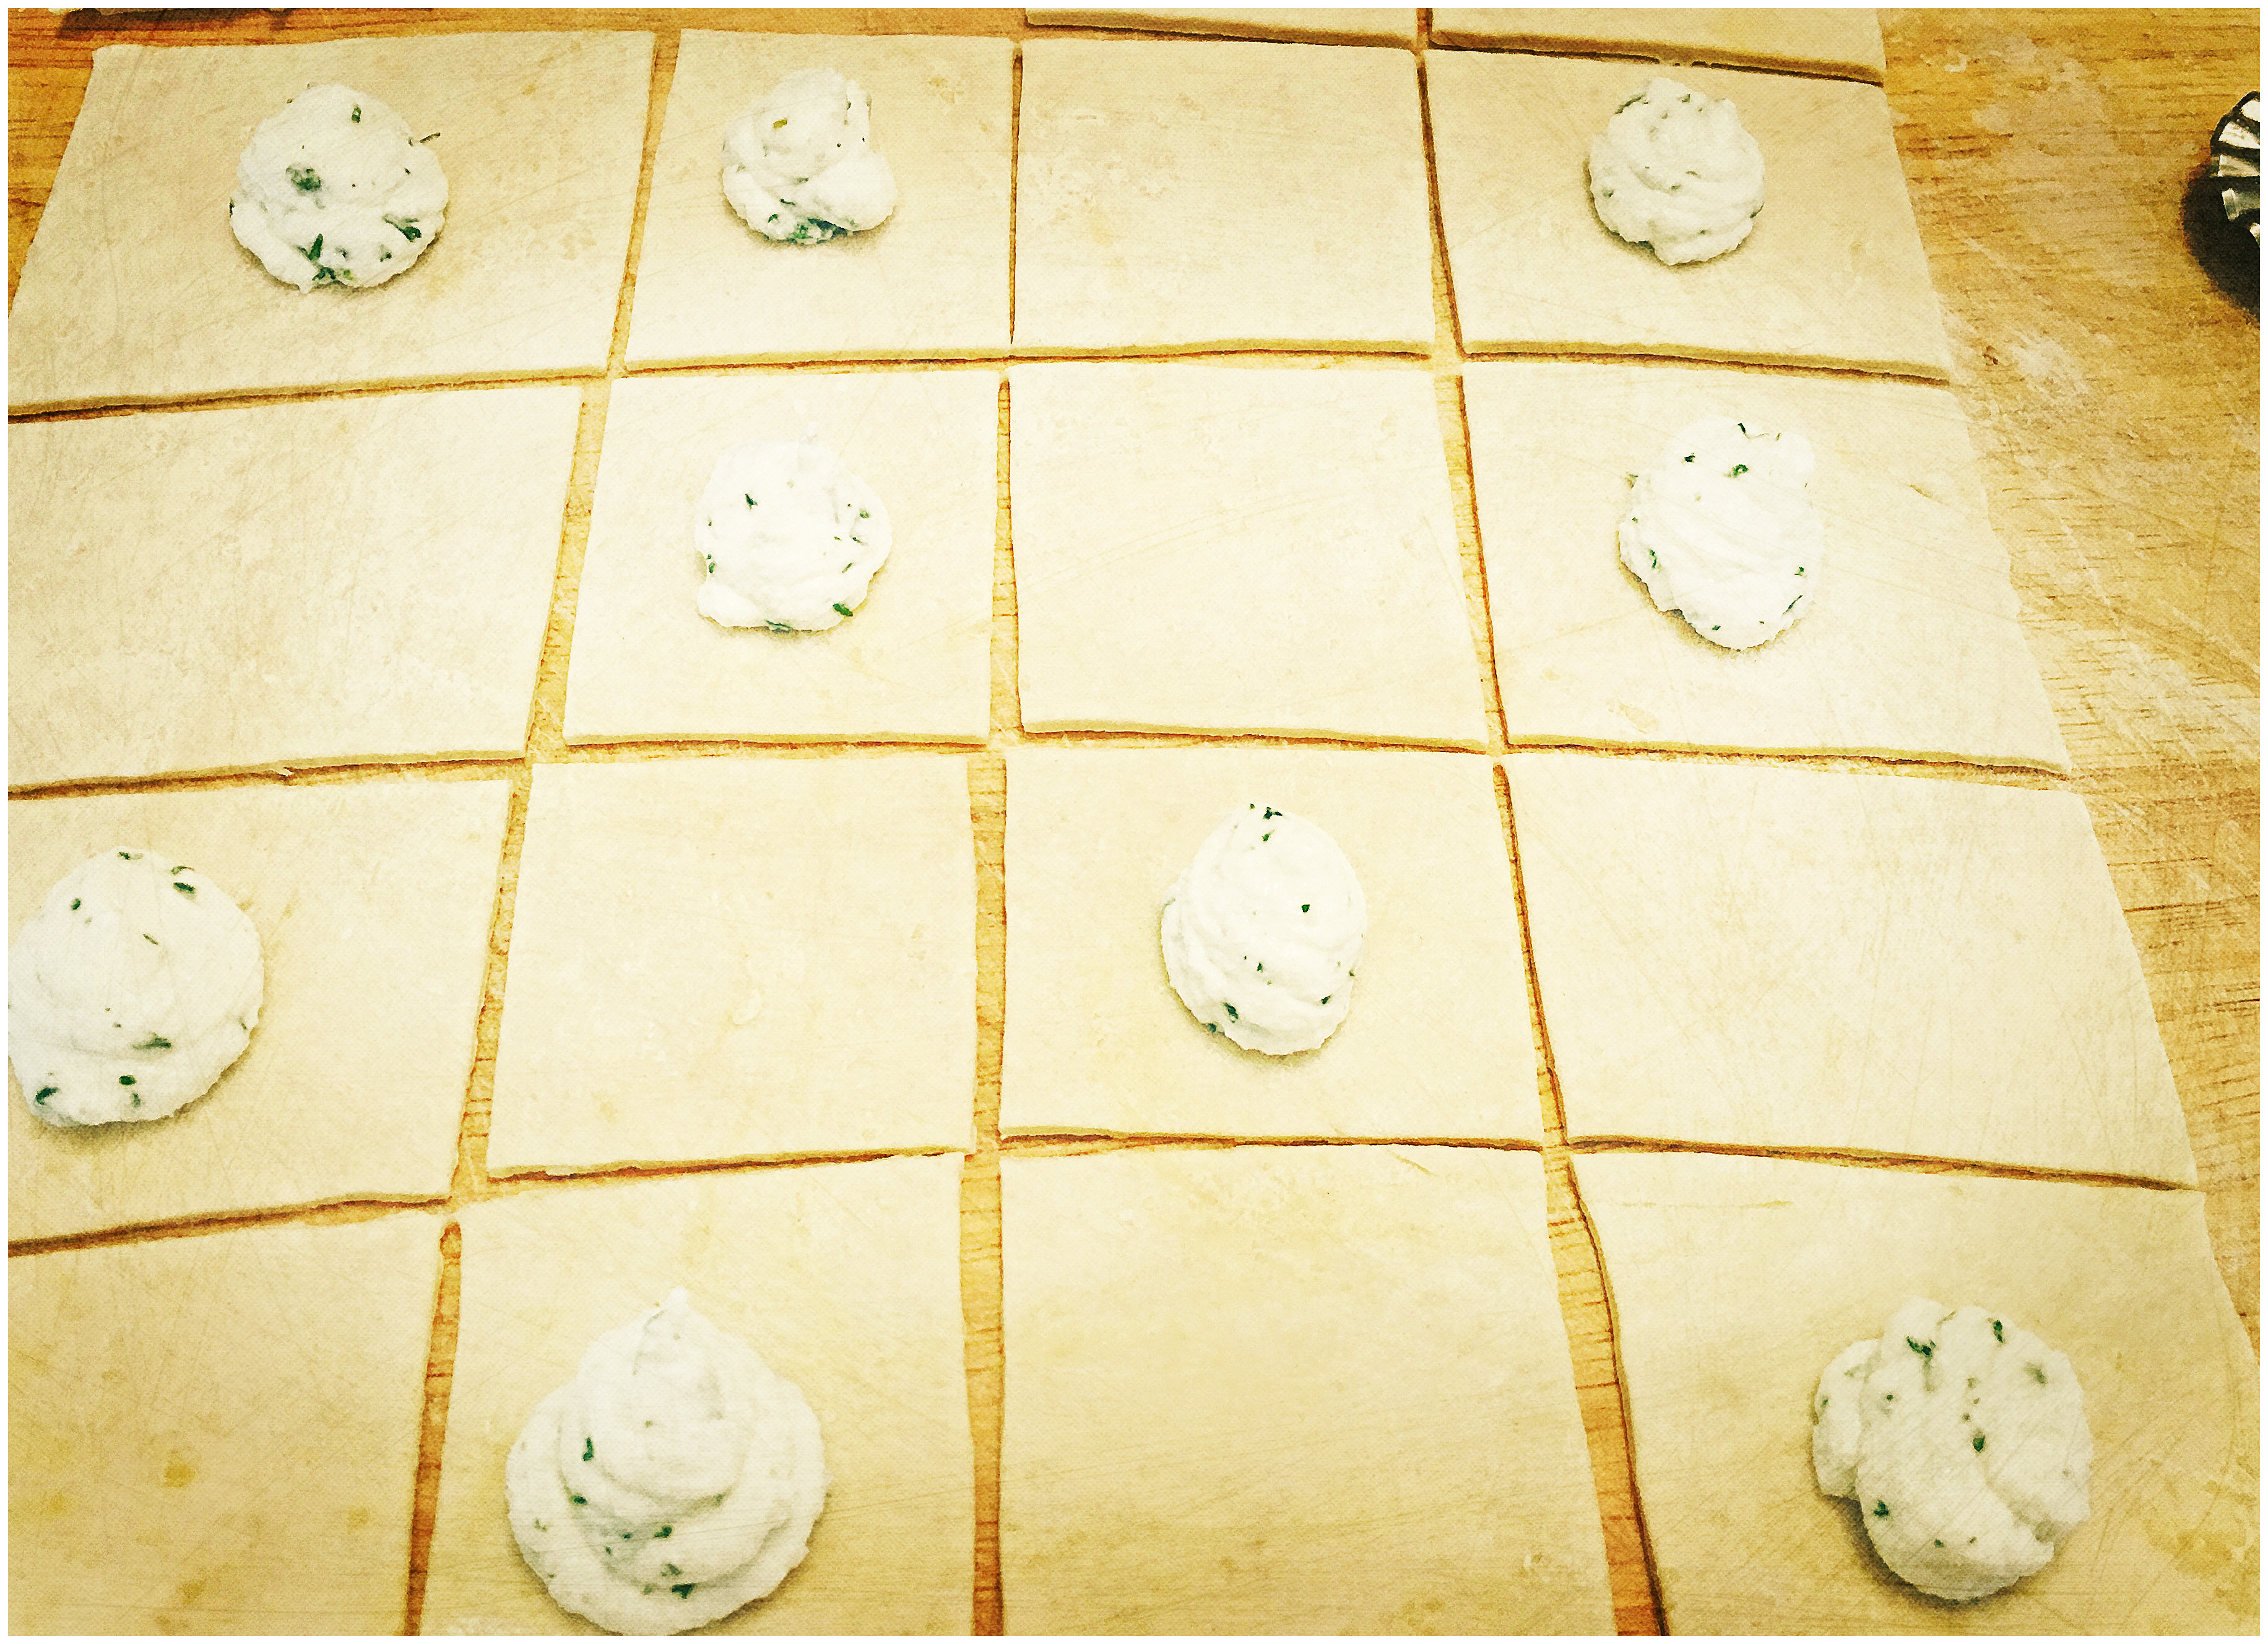
Step Two: Then fill every other square with a filling like a ricotta cheese mixture. You can create so many possibilities: ricotta with spinach, or ricotta with broccoli, ricotta with parsley and seasonings. What you put inside is all based on your personal preference. I like the ricotta mixture with the parsley, and herbs, and salt and freshly grated parmesan cheese. Once you mix your filling, taste it to be sure you don’t need anymore salt, pepper or seasonings. The filling will be the focal point of the ravioli, so you want to create a creamy and delicious filling. You may add an egg to bind the mixture. I skip it because my son is allergic.  I cannot emphasize enough, that you use fresh parmesan cheese that you grate yourself. It does make a difference.

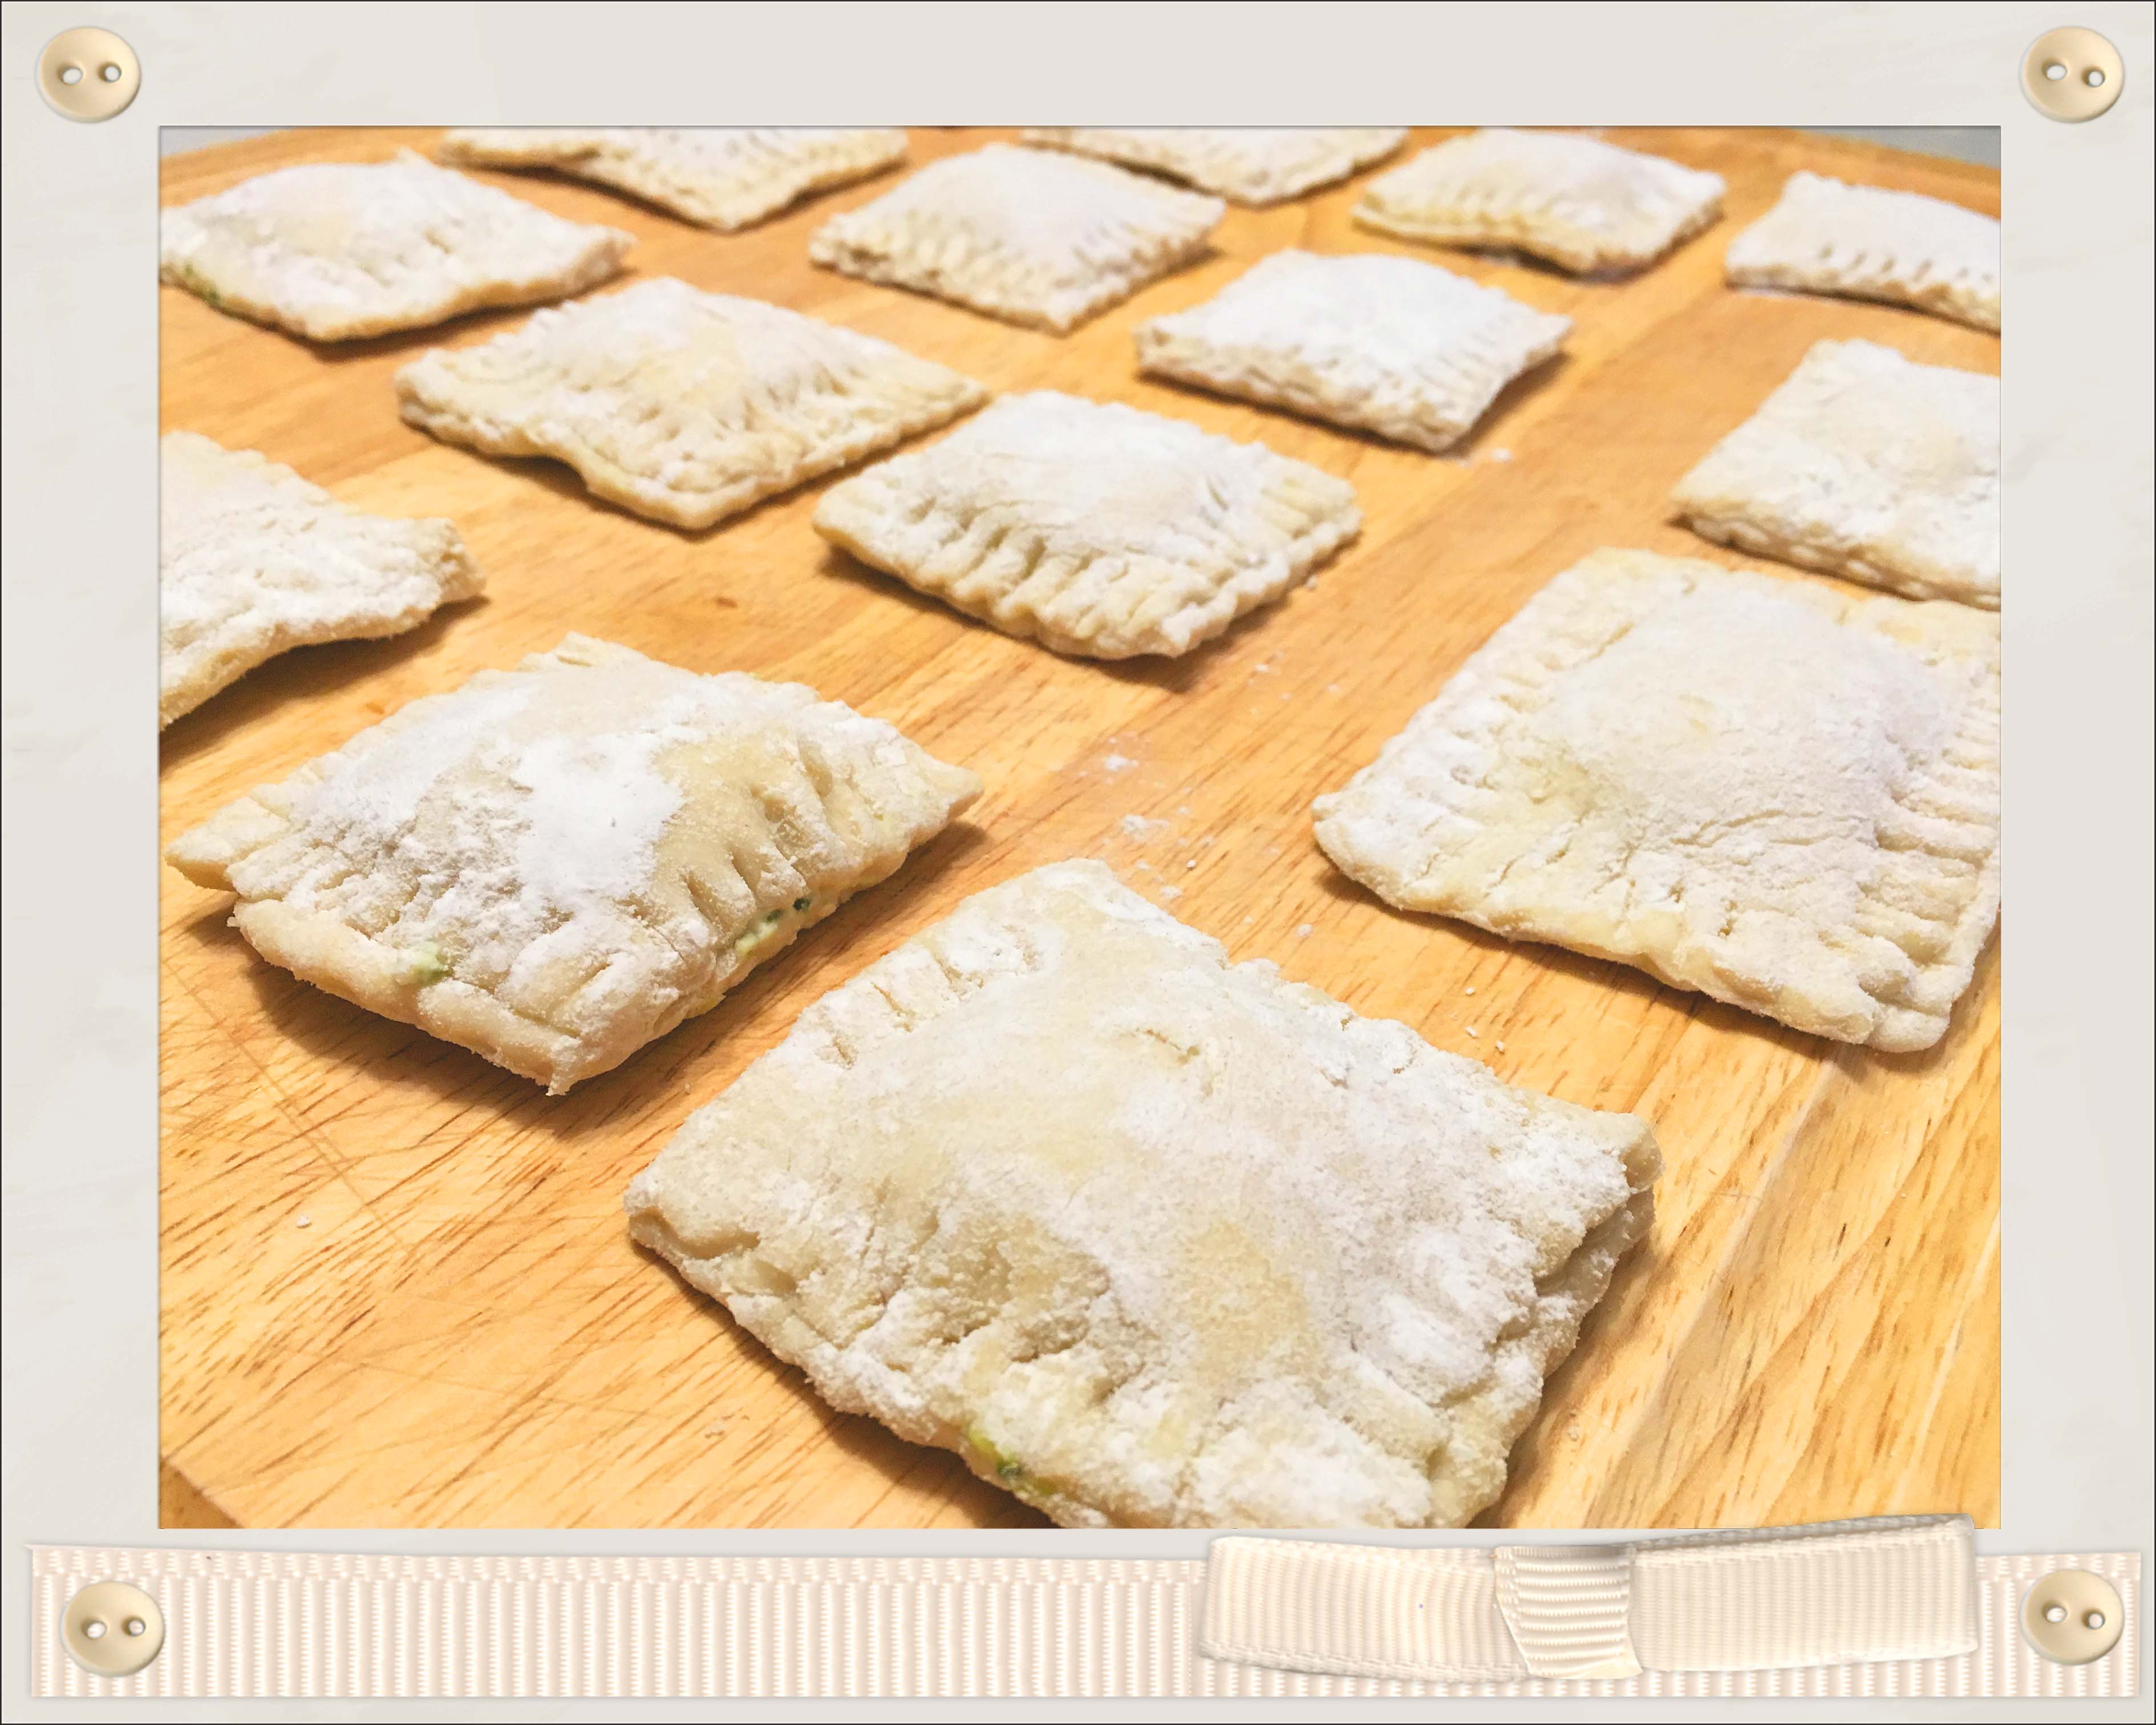
Step Three: Use a large plastic bag and fill it with your ricotta mixture and snip off one corner. Be sure the bag is sealed at the top too. You will pipe your filling onto every other square. Then put one square on top of the other, one with filling and one without filling, and sandwich them together. Then seal the edges using a fork and making indentations all the way around the square. You can wet the fork a little if you’d like. They will be sealed and the filling will stay inside the ravioli. Then if you want precise edges use a pastry cutter to trim all the way around.  Alternatively, you may keep the pasta in long sheets and pipe a dollop two inches apart and fold over the top sheet. Then use the ravioli stamp.

Step Four: Put the ravioli on a lined cookie sheet with flour so they don’t stick and be sure they are not touching. You can freeze them on the tray, once frozen solid, transfer to a Ziploc freezer bag. You can freeze up to one day, otherwise I have read that the ricotta cheese might get gritty.  Toss them in boiling water either frozen or fresh and give it a stir so they don’t stick. BUT before you add them to the water be sure your water has lots of salt to flavor the pasta!!!! You want to choose a large pot to be sure they have lots of room to move around, and don’t let the water get to a rolling boil, because it will break apart the ravioli. After 4-6 minutes, they will rise to the top and you can fish them out with a wire mesh ladle. Don’t pour into a colander, they will break apart. Test one and taste it. You don’t want the ricotta to appear curdled, if it does you cooked it too long so adjust your time.

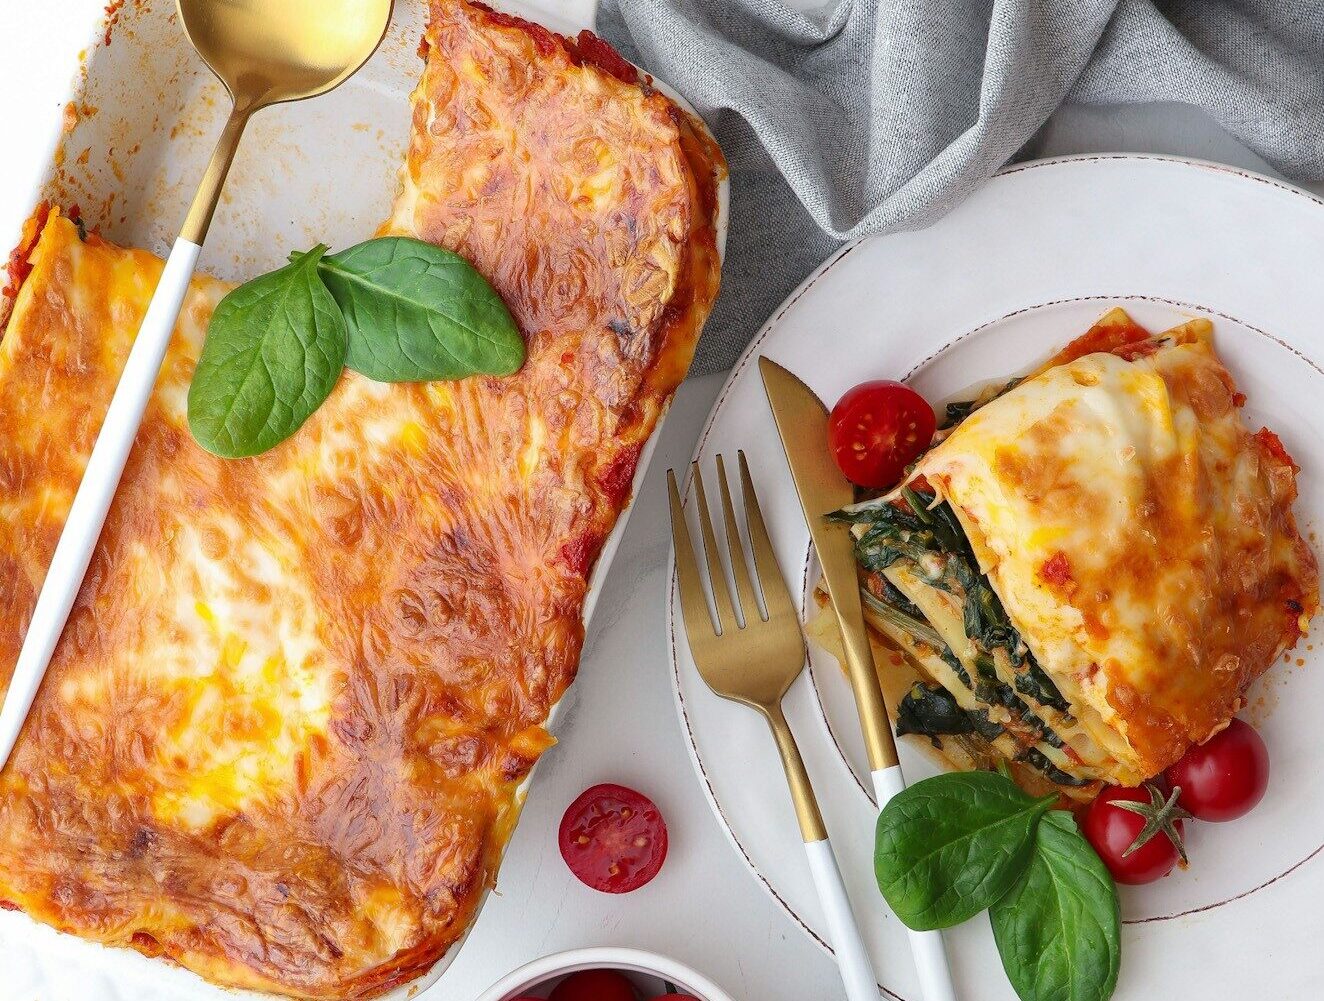
Step Five: Add your desired sauce and serve warm!  YUM

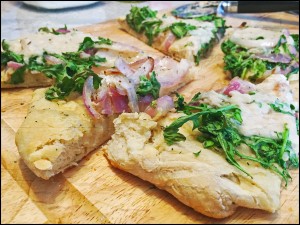
Here are the steps in picture order:

dough rectangle

ravioli squares

chick pea puree filled ravioli edited

ravioli with butter sauce


Pizza Fridays

Homemade pizza crustI grew up having pizza on Fridays, as did many of my friends. For some of us, it’s because during lent we cannot eat meat on Friday, so pizza Friday became popular. We would often go to the local pizza place (the same place my husband went as a kid, but we never met until years later!) and get a traditional tomato and cheese pizza, hot and steamy, right out of the oven. My dad  would speak the little Italian he learned as a child to the owners.  I would hold the pizza on my lap in the car ride home. It was always piping hot!  Sometimes we would get the dough from the pizza place and make it ourselves in a square pan. It was just as delicious and so much fun!

Now we have our own family traditions. We still do pizza Fridays and go to our favorite local pizza place. When my son walks in the door, they put about 5 slices of Brooklyn pizza in the oven. He eats all of them!!  Sometimes we make our own, and the kids love the process and the taste is out of this world!

Making dough is a lot easier than you might think. Here’s a Homemade Pizza Crust Recipe:

Homemade Pizza Crust

If you are making one large pizza (or two small) this recipe works well. Start by putting 2 cups of all-purpose flour in a bowl, then add about 1/2 teaspoon of salt and a pinch of sugar.  Then drizzle in a little olive oil. Fill a measuring cup with warm water and dissolve 1 packet of yeast and mix it well. Then add that to the flour mixture and mix well. The dough will immediately form together. If not, and it’s too wet add more flour, or if too dry add a few drops of water a few at a time. Form the dough into a ball and drizzle olive oil over it to coat it, then cover it with a clean dish towel and put in a warm place to rise. Check it every 30 minutes and knead it to get out the air, then cover it again letting it rise. Keep it covered until you are ready to use it.

Then using a wood cutting board or pastry board, add some flour and knead the dough with your fists. Then work the dough from the center using your finger tips making a circle and pressing out the air. You can also use a rolling pin, try to keep the dough in a circle.  You can gently toss it as well using two crisscrossed fists in the center of the dough, and twirling it!  Give it a try, it will stretch the dough. Put the dough on a greased tin, then it’s ready for the toppings!

Try my Margaretta Pizza – it is like a classic tomato and cheese pizza with a few twists. It’s soooo yummy. Also, if you really avoid cheese or just can’t eat it try my delectable White Bean, Red Onion, and Arugula Pizza. It is one of our favorites!Vegan Pizza


Super Bowl Sunday Menu Ideas

Beef ChiliBeef Chilli

 Super Bowl Sunday is approaching fast.  It’s time to start thinking about the menu for game day as well as who you are serving! These are some of my favorite picks for the big game!

For starters, let’s talk appetizers.

1) Try my Dill & Lemon Dip served with your favorite potato chip. This dip goes fast and it’s great because it’s a make ahead dip!

2) For your more health conscious guests you may want to offer my Dillish Hummus served with veggies, always a crowd pleaser.

3) I think chips and salsa is another must have at any game day celebration. After all you want to keep it simple and enjoy your guests and maybe even watch the game! (or a commercial!)

Next up is the main meal.

4) Check out my mouthwatering Beef Chili. Start this dish a few hours ahead of your guests arriving and let it simmer. Better yet, prepare it the day before and just heat it up on Game Day! Serve with fresh Italian bread. Easy and so yummy! My kids love it!

5) On the side serve Double Stuffed Baked Potato. These are filling and a great side dish.

6) If you want to make something really healthy & hearty try my Earthy Bowl of Goodness salad, it’s a winner! You’ll score big points with this one!

7) Another option for the main meal is Sloppy Joes. You can put them on little slider rolls. YUMMMY! Serve these with sweet potato fries. This I would make fresh about two hours before guests are to arrive. Super easy & Delish!

Dessert time!

banana cakes Ginger Spiced Banana Cake

8) Ginger Spiced Banana Cake is so delicious and will be devoured in minutes! You might want to make two depending how many guests you have.

9) Another great option is my Dark Chocolate Cake made into muffins, for easy eating! Serve with hot coffee and your guests will be happy!

Enjoy the game and more importantly your guests and the memories you are creating!

White Bean, Red Onion & Arugula Pizza

Vegan PizzaMy teenage daughter decided she is going to try to become a Vegan for various reasons, so I took her to our local Whole Foods and followed her around and let her pick out what she needs and wants. These days she has been eating chia seeds and making chia seed pudding with a little agave nectar. She eats lots of hummus which she makes by following my Dillish Hummus Recipe. She LOVES whole wheat toast with sunflower seed butter, or avocado with salt. She drinks freshly squeezed orange juice and uses my mason jars to store it in the frig for a few days. She eats lots of homemade pasta which she has learned to make by following my Pasta Making 101.

I enjoy watching her be responsible for her eating and make informed decisions. As a result, I really want to support her Vegan efforts and this is when I created – the lovely, light as air White Bean, Red Onion and Arugula Pizza. It is seasoned with just the right amount of thyme and finely ground sea salt. It is soooo good, you really cannot stop eating it! This pizza has no cheese!  You don’t even miss it, I promise!

As I took a long walk by my home, passing the horse stables and looking at all the evergreens covered in snow, I thought up this pizza recipe.  I tend to create things sometimes based on need and sometimes just from my own creativity, and this recipe was a little bit of both.  Any Italian (I’m half Italian) knows that pizza should have cheese, but not vegan pizza! I know white beans add a creaminess to dishes like cheese so I started from there. Then, I started to think about giving my daughter some iron-rich leafy greens and thought of arugula. Then of course, I like to make things visually appealing and thought red onions will provide that rich color and a delicious flavor -the White Bean, Red Onion, and Arugula Pizza was created! It is as delicious as it is beautiful!